Note
Go to the end to download the full example code.
Riley: Stereo Calibration Target
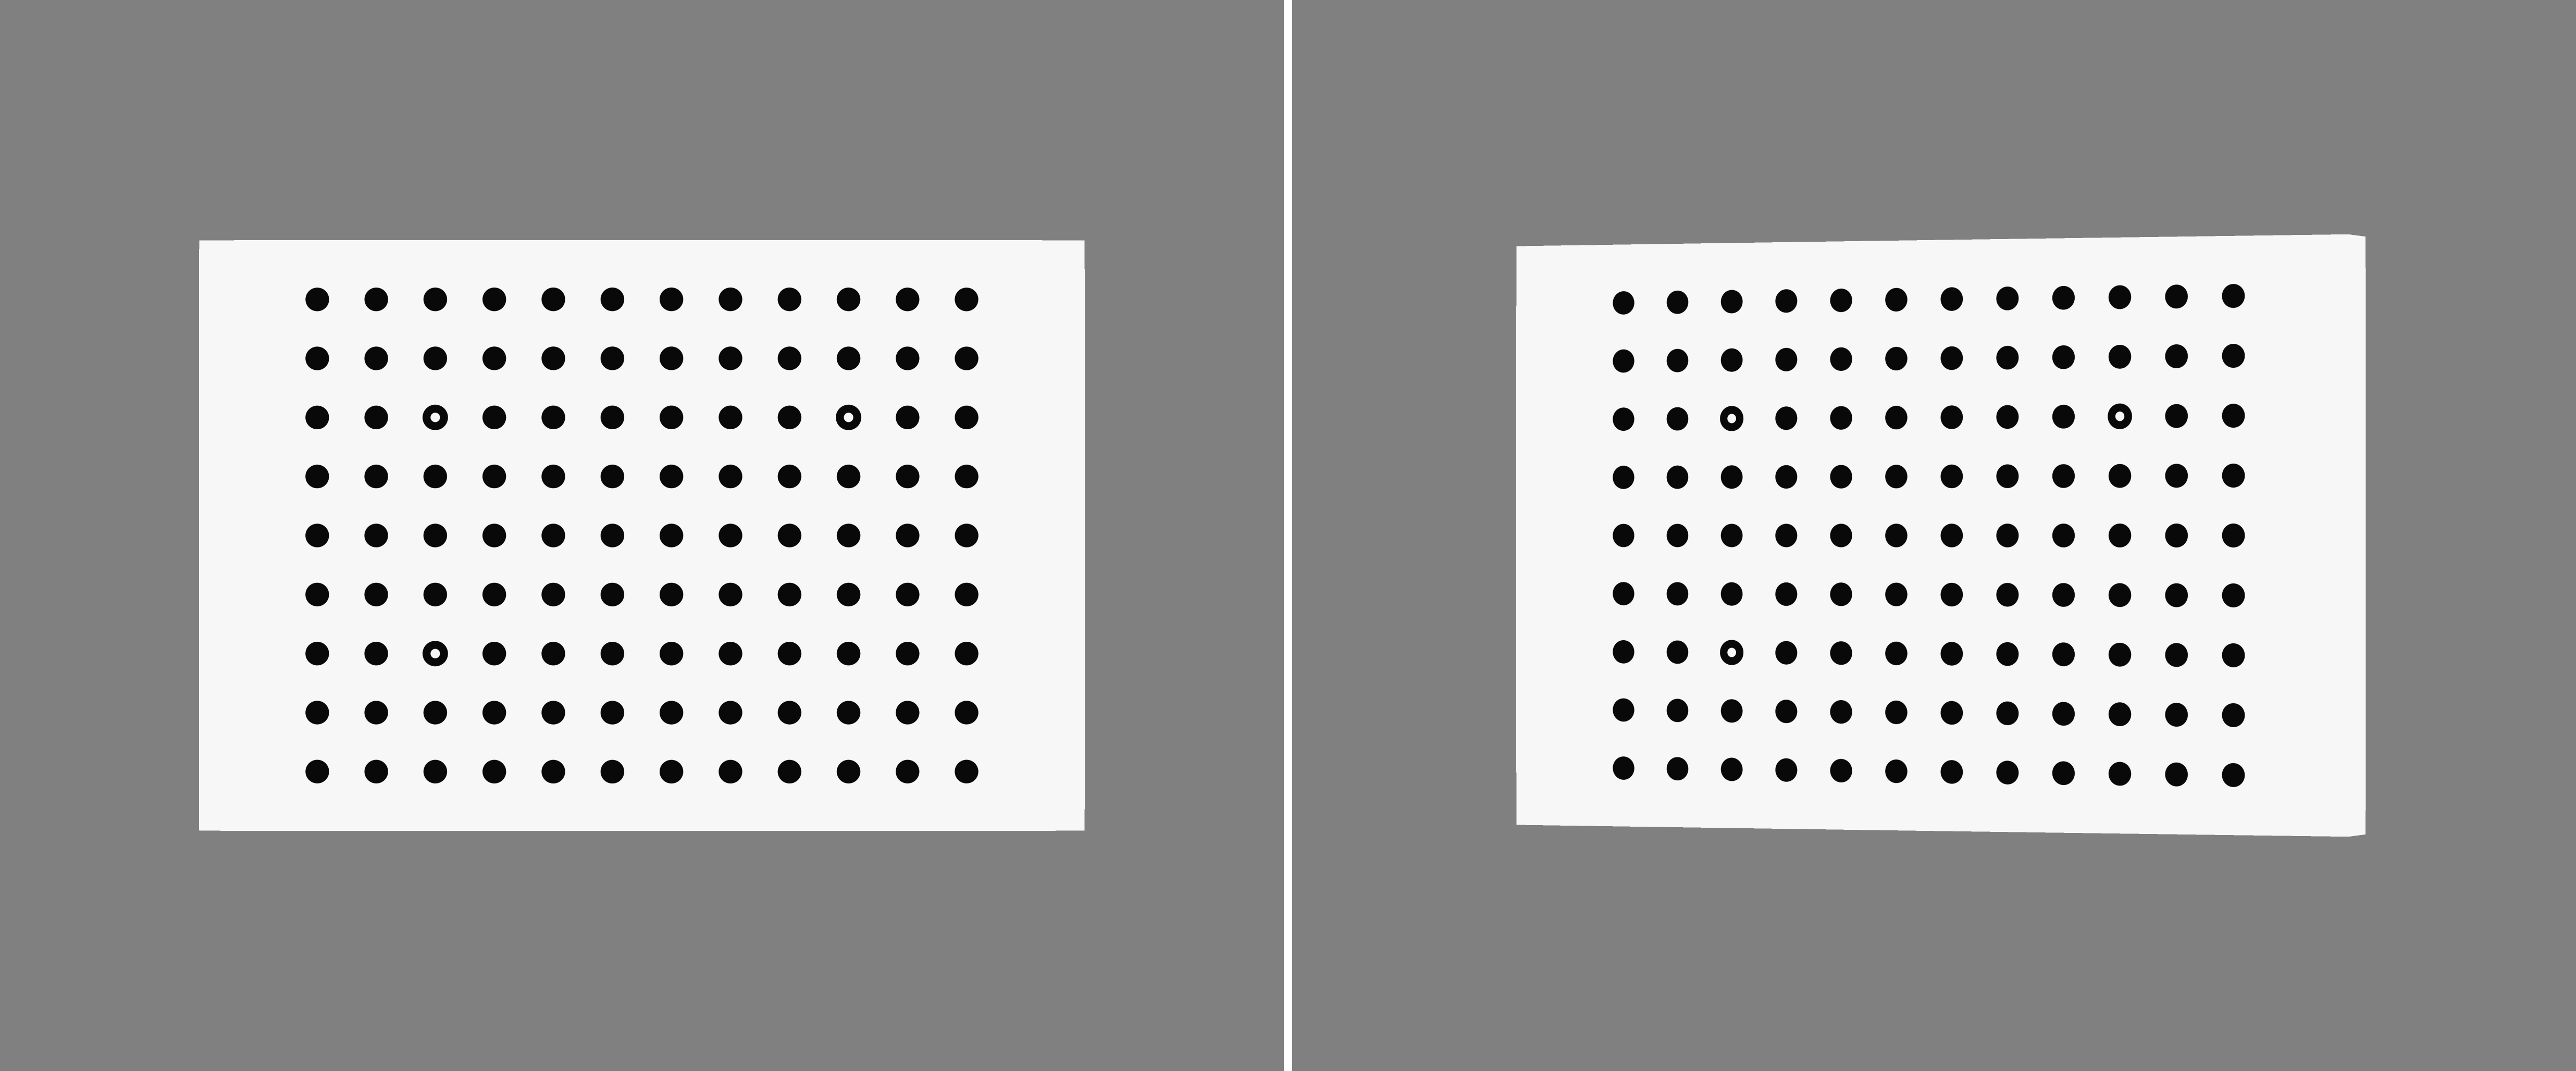
Here we render a series of images of a stereo calibration target with Riley. We also show how to save and load camera configurations into Riley using the OpenCV or OpenGL coordinate system convention.
Stereo Setup
Stereo pair matching the DIC UQ specimen position and camera parameters. The camera positions are the calibrated values from Riley’s own demo so this example is standalone: no other example needs to run first.
MATCHED_ROI = (0.0125, 0.0175, 0.0005)
MATCHED_CAM0_POS = (0.0125, 0.0175, 0.160864856482)
MATCHED_CAM1_POS = (0.067348011198, 0.0175, 0.151193672270)
1. Load the moving calibration target and its texture
data_dir = dataset.riley_stereocal_case_path()

simulation = io.SimLoaderByField(
    load_dir=data_dir,
    coords_file="coords.csv",
    time_step_file=None,
    node_field_files={
        "disp_x": "field_disp_x.csv",
        "disp_y": "field_disp_y.csv",
        "disp_z": "field_disp_z.csv",
    },
    connect_files="connect.csv",
    load_opts=io.SimLoadOpts(
        coord_header=None,
        node_field_header=None,
    ),
).load_all_sim_data()

uvs = io.load_array(data_dir / "uvs.csv", header=None, delimiter=",")
texture = riley.load_texture_mono_u8(dataset.riley_cal_target_texture_path())

shader = riley.TextureShader(uvs=uvs, texture=texture)
mesh = render.meshes3d_from_simdata(
    simulation,
    {"connect": riley.ConnectConvention(
        riley.EElemType.TRI3, riley.EConnectAxis.ROW, 0,
        riley.ENodeOrder.RILEY,
    )},
    shaders={"connect": shader},
    displacement_keys=("disp_x", "disp_y", "disp_z"),
)["connect"]

frame_indices = render.evenly_spaced_frame_indices(
    mesh.displacements.shape[0],
    8,
)
mesh.displacements = render.select_frames(mesh.displacements, frame_indices)
2. Shift the target onto the DIC UQ specimen position
mesh = render.mesh_center_at(mesh, MATCHED_ROI)
roi_pos = render.mesh_center(mesh)
3. Create the stereo pair and save it in Riley’s exchange format
pixels_num = (2464, 2056)
pixels_size = (3.45e-6, 3.45e-6)
focal_length = 50.0e-3
stereo_angle_deg = 20.0

rot_world_0 = (0.0, 0.0, 0.0)
rot_world_1 = (0.0, float(np.deg2rad(stereo_angle_deg)), 0.0)
roi_cent = tuple(roi_pos)
distortion_model = int(render.EDistortionModel.BROWN_CONRADY)

camera_0 = riley.Camera(
    pixels_num=pixels_num,
    pixels_size=pixels_size,
    pos_world=MATCHED_CAM0_POS,
    rot_world=rot_world_0,
    roi_cent_world=roi_cent,
    focal_length=focal_length,
    sub_sample=2,
    distortion_model=distortion_model,
    distortion_k1=-0.2,
    distortion_k2=0.1,
    distortion_k3=0.0,
    distortion_p1=0.0001,
    distortion_p2=-0.0001,
)

camera_1 = copy.deepcopy(camera_0)
camera_1.pos_world = MATCHED_CAM1_POS
camera_1.rot_world = rot_world_1

output_dir = Path.cwd() / "pyvale-output" / "render3d_ex1f_riley_stereocal"
output_dir.mkdir(parents=True, exist_ok=True)

stereo_file_name = "stereo_data_opengl.csv"
riley.save_stereo_pair(str(output_dir), stereo_file_name, camera_0, camera_1)
4. Load the saved cameras back and build the textured mesh
camera_0, camera_1 = riley.load_stereo_pair(str(output_dir), stereo_file_name)
5. Configure and build the renderer
config = riley.create_raster_config(
    num_frames=mesh.displacements.shape[0],
    total_threads=4,
    save_strategy=riley.SaveStrategy.disk,
)
config.background_value = 128.0

renderer = render.Riley(config, output_dir)
6. Build the scene and render every calibration target pose
scene = render.Scene3D(meshes=[mesh], cameras=[camera_0, camera_1])
result = renderer.render(scene)

print(f"Rendered stereo calibration images to {output_dir}")
print(f"{result.images=}")
The first calibration pose from both cameras is combined side by side below.