Note
Go to the end to download the full example code.
Blender: 2D Deformation
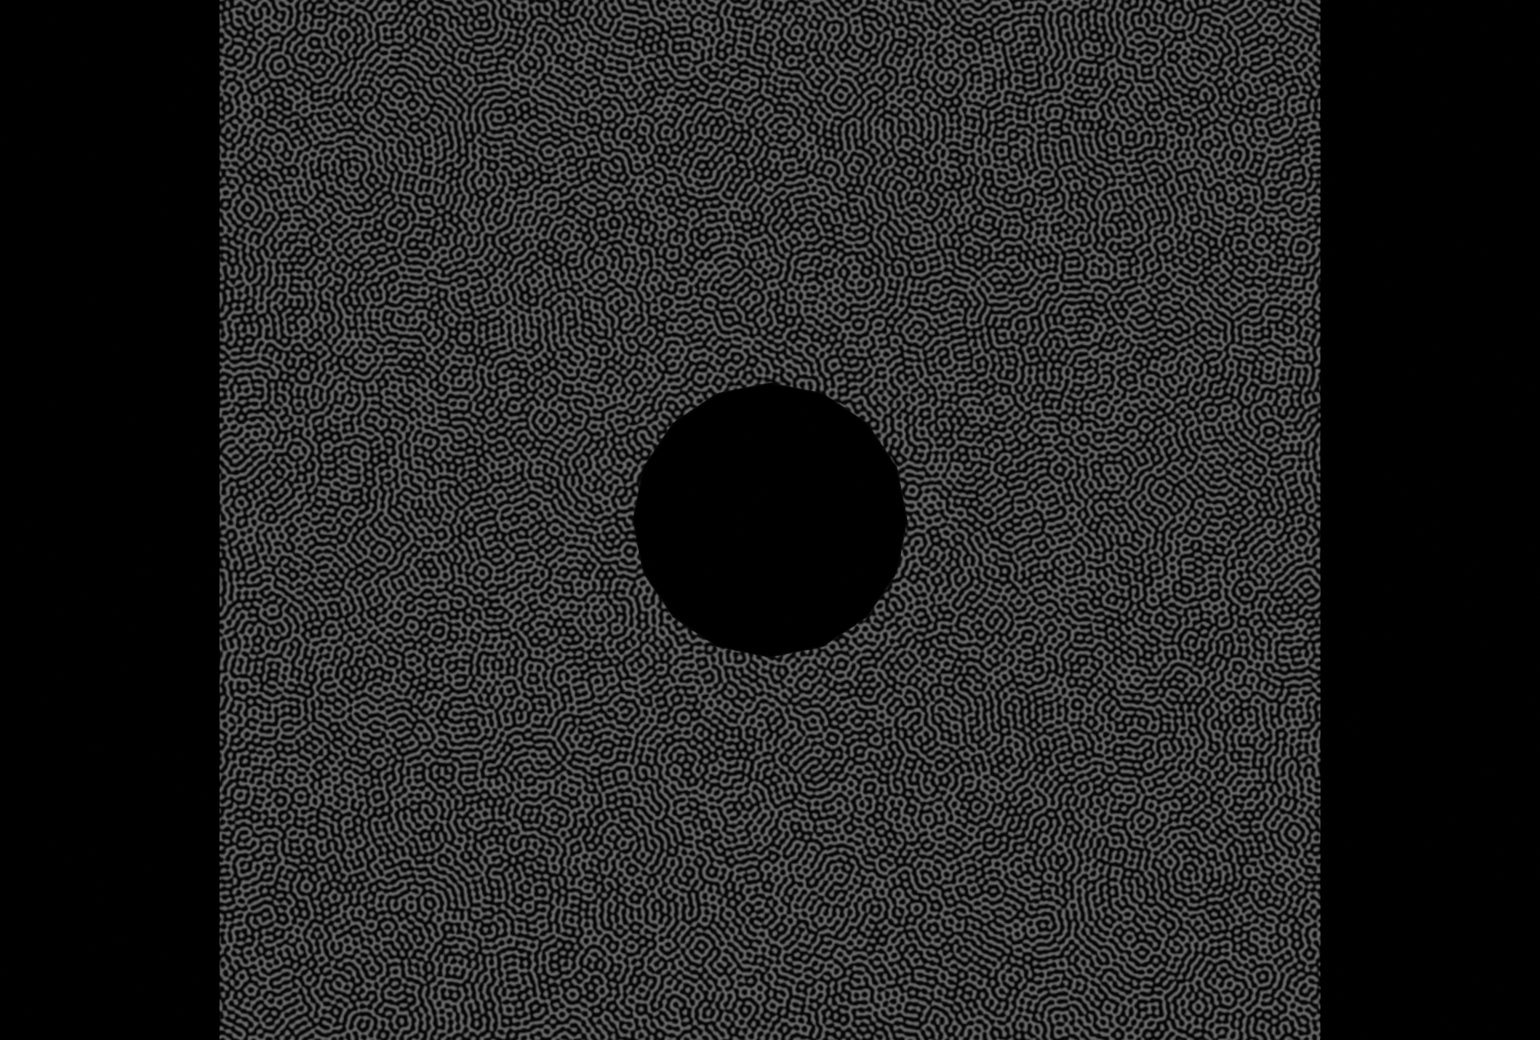
This example demonstrates how to render a sequence of deformed 2D DIC images using Blender and the unified pyvale render API.
Test case: mechanical analysis of a plate with a hole loaded in tension.
Workflow: 1. Load simulation data, scale units, and create a textured surface mesh. 2. Select a subset of deformation timesteps for demonstration. 3. Create and position camera and lights. 4. Configure Blender with render_deformed=True. 5. Build the Scene3D and render all selected deformation frames.
from pathlib import Path

import numpy as np
import riley
from scipy.spatial.transform import Rotation

import pyvale.data as dataset
from pyvale import render
from pyvale.mooseherder import ExodusLoader
from pyvale.sensorsim import scale_length_units
1. Load simulation data and build a textured surface mesh
Load the mechanical plate with a hole simulation in Exodus format (*.e).
data_path = dataset.render_mechanical_3d_path()
sim_data = ExodusLoader(data_path).load_all_sim_data()

disp_keys = ("disp_x", "disp_y", "disp_z")
sim_data = scale_length_units(1000.0, sim_data, disp_keys)

surface_mesh = render.meshes3d_from_simdata(
    sim_data,
    {"connect1": riley.ConnectConvention(
        riley.EElemType.TET4, riley.EConnectAxis.ROW, 0,
        riley.ENodeOrder.RILEY,
    )},
    displacement_keys=disp_keys,
)["connect1"]
2. Select deformation timesteps
The simulation contains 11 displacement timesteps. Here we select a 3 frame subset ([undeformed, mid load, peak load]) for fast tutorial execution. To render all simulation frames, omit this slice: surface_mesh.displacements = surface_mesh.displacements
if surface_mesh.displacements is not None:
    surface_mesh.displacements = surface_mesh.displacements[[0, 5, -1]]
3. Create and position camera and lights
camera = render.Camera(
    pixels_num=np.array((1540, 1040)),
    pixels_size=np.array((0.00345, 0.00345)),
    pos_world=np.array((0.0, 0.0, 400.0)),
    rot_world=Rotation.identity(),
    roi_cent_world=np.zeros(3),
    focal_length=15.0,
)

resolution = render.blender_mm_per_pixel(camera)
surface_mesh.shader = render.BlenderTextureShader(
    image_path=dataset.dic_pattern_5mpx_path(),
    millimetres_per_pixel=resolution,
)

light = render.Light(
    light_type=render.ELightType.POINT,
    pos_world=np.array((0.0, 0.0, 400.0)),
    direction_world=np.zeros(3),
    intensity=1.0,
)
4. Configure Blender backend for deformation rendering
output_dir = (
    Path.cwd() / "pyvale-output"
    / "render3d_ex2b_blender_deformation"
)
config = render.BlenderConfig(
    output_dir=output_dir,
    samples=4,
    threads=8,
    render_deformed=True,
    save_images=True,
    save_scene=True,
)
renderer = render.Blender(config)
5. Build Scene3D and render deformation frames
scene = render.Scene3D([surface_mesh], [camera], [light])
result = renderer.render(scene)

print(f"Rendered {len(result.output_paths)} deformation frames.")
print(f"Output saved to: {output_dir}")
The first deformation frame is shown below.