Note
Go to the end to download the full example code.
Blender: Scene for 2D DIC
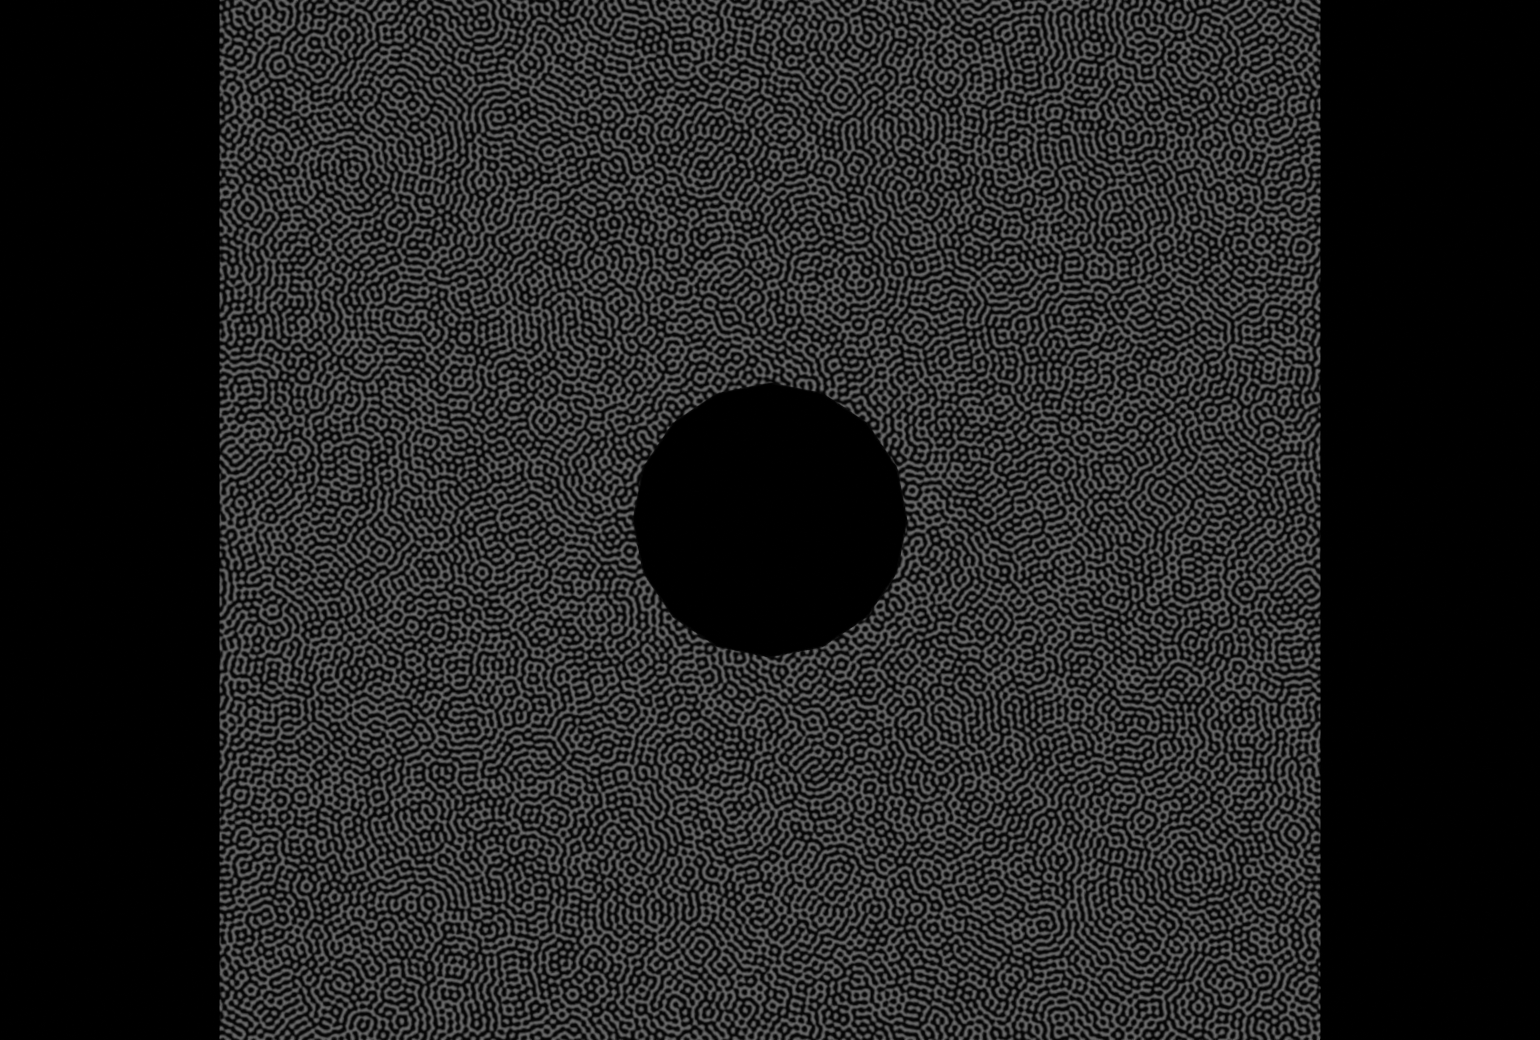
This example demonstrates how to set up and render a single camera 2D DIC scene with Blender using the unified pyvale render API. The test case for this example is a solid mechanics finite element model of a plate with a hole loaded in tension.
Workflow: 1. Load simulation data, scale units, and create a textured surface mesh. 2. Create and position camera and lights. 3. Configure the Blender renderer backend. 4. Build the Scene3D, render the image, and save the Blender project file.
from pathlib import Path

import numpy as np
import riley
from scipy.spatial.transform import Rotation

import pyvale.data as dataset
from pyvale import render
from pyvale.mooseherder import ExodusLoader
from pyvale.sensorsim import scale_length_units
1. Load simulation data and build a textured surface mesh
Load the mechanical plate with a hole simulation in Exodus format (*.e).
All geometry and displacements are scaled to millimetres for Blender.
Then convert the volumetric SimData into a surface Mesh3D. Volumetric meshes
are skinned and conventions are enforced automatically.
data_path = dataset.render_mechanical_3d_path()
sim_data = ExodusLoader(data_path).load_all_sim_data()

disp_keys = ("disp_x", "disp_y", "disp_z")
sim_data = scale_length_units(1000.0, sim_data, disp_keys)

surface_mesh = render.meshes3d_from_simdata(
    sim_data,
    {"connect1": riley.ConnectConvention(
        riley.EElemType.TET4, riley.EConnectAxis.ROW, 0,
        riley.ENodeOrder.RILEY,
    )},
    displacement_keys=disp_keys,
)["connect1"]
2. Create and position camera and lights
Specify the physical sensor dimensions, sensor pixel grid, position, and focal length for a perspective camera.
camera = render.Camera(
    pixels_num=np.array((1540, 1040)),
    pixels_size=np.array((0.00345, 0.00345)),
    pos_world=np.array((0.0, 0.0, 400.0)),
    rot_world=Rotation.identity(),
    roi_cent_world=np.zeros(3),
    focal_length=15.0,
)

# Calculate camera resolution in mm/pixel to scale the speckle pattern.
resolution = render.blender_mm_per_pixel(camera)
surface_mesh.shader = render.BlenderTextureShader(
    image_path=dataset.dic_pattern_5mpx_path(),
    millimetres_per_pixel=resolution,
)

# Add a point light to illuminate the scene.
light = render.Light(
    light_type=render.ELightType.POINT,
    pos_world=np.array((0.0, 0.0, 400.0)),
    direction_world=np.zeros(3),
    intensity=1.0,
)
3. Configure and build the Blender renderer backend
output_dir = Path.cwd() / "pyvale-output" / "render3d_ex2a_blender_scene"
config = render.BlenderConfig(
    output_dir=output_dir,
    samples=4,
    threads=8,
    save_images=True,
    save_scene=True,
)
renderer = render.Blender(config)
4. Build the Scene3D and render the image
scene = render.Scene3D([surface_mesh], [camera], [light])
result = renderer.render(scene)

print(f"Rendered {len(result.output_paths)} image to disk.")
print(f"Output saved to: {output_dir}")
The first rendered frame is shown below.