Note
Go to the end to download the full example code.
Stereo Reconstruction from the DIC Challenge 1.0
For this exampe we’ll reconstruct the bespoke sample used in the first iteration of the Stereo DIC challenge. To keep the amount of images/data distributed with the package to a minimum, we’ve already run the calibration (but feel free to try running the calibration yourself by downloading all the images from the Stereo DIC challenge archive) and the intrinsic/extrinisic parameters can be found in dic_ex11_dic_chal_calibration.txt. In this example we’ll just use the reference images from the left and right camera to build a 3D reconstruction.
Import the calibration parameters:
calib_params = calib.loadtxt(dataset.dic_ex11_dic_chal_calibration(), delimiter=",")
select the images and build the ROI:
# reference images
ref0 = dataset.dic_chal_3d_cam0()
ref1 = dataset.dic_chal_3d_cam1()

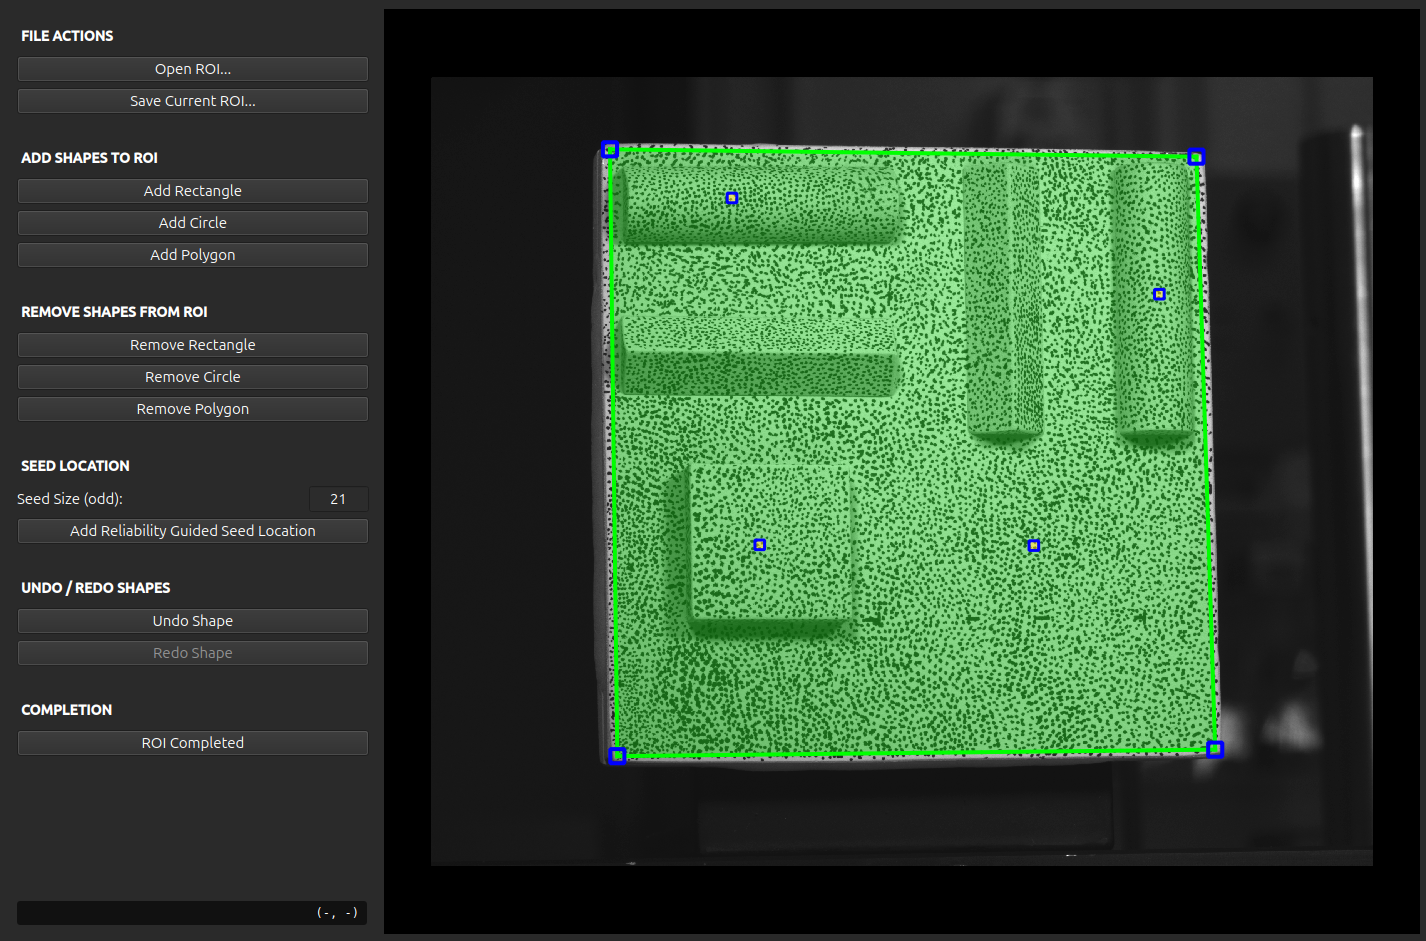
# Build ROI using cam 0 reference image.
roi = dic.RegionOfInterest(ref0)
# roi.interactive_selection() # <- you can use the interactive_selection to view the yaml
roi.read_yaml(dataset.dic_ex11_dic_chal_roi())
# create an output directory
output_path = Path.cwd() / "pyvale-output" / "dic_ex11"
if not output_path.is_dir():
    output_path.mkdir(parents=True, exist_ok=True)
Perform the DIC:
dic.calculate_3d(reference=[ref0, ref1],
                 deformed=[ref0, ref1],
                 calibration=calib_params,
                 roi_mask=roi.mask,
                 seed=roi.seed,
                 subset_size=27,
                 subset_step=2,
                 output_basepath=output_path)
import the results:
dic_files = output_path / "dic_results_*.csv"
dic_results = dic.import_3d(data=dic_files, delimiter=",", binary=False)
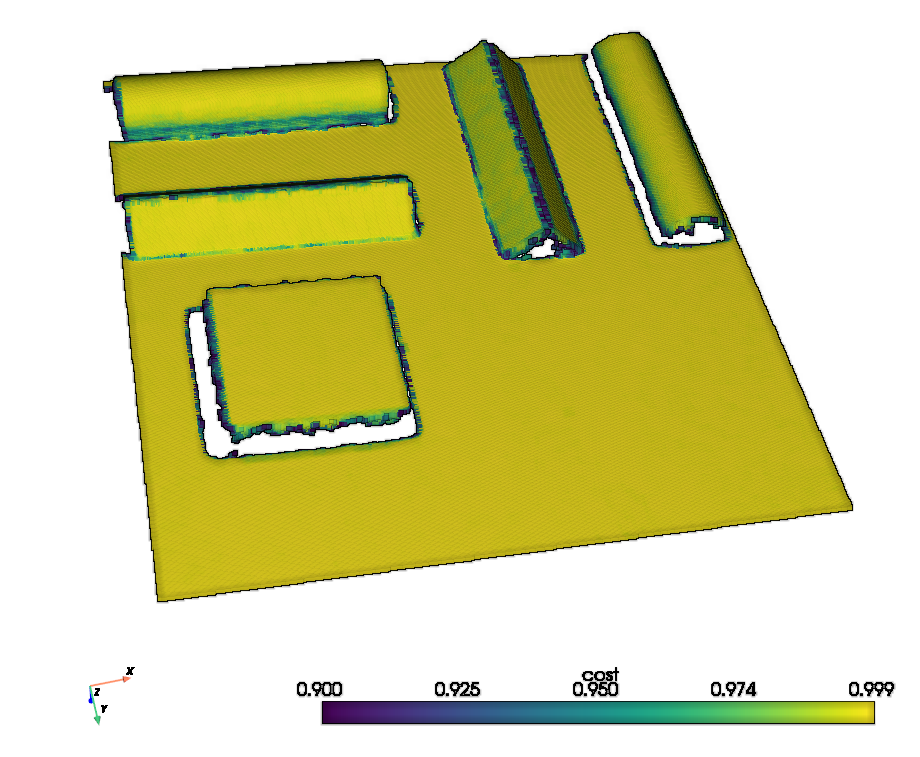
plot a 3d reconstruction using pyvista, using the stereo cost value as the marker colour
import pyvista as pv

stereo = dic_results.stereo
frame = 0


points = np.column_stack((
    np.ravel(stereo.x_mm[frame]),
    np.ravel(stereo.y_mm[frame]),
    np.ravel(stereo.z_mm[frame])
))

cloud = pv.PolyData(points)
cloud["cost"] = np.ravel(stereo.cost[frame])
cloud.plot(
    scalars="cost",
    eye_dome_lighting=True,
)